

how to install vent pipe flashing on existing roof
Professional tips to ensure leak-free installations and avoid on-the-job accidents
Most homeowners don't associate plumbing work with their roofs. But roofing contractors, plumbers and inspectors often need to be on the roof to perform their jobs. If you're working on your home's plumbing vent, you may need to repair or replace the roof flashing around the pipe. So it's important to have a good understanding of how to install flashing products safely and effectively. Follow these steps to ensure a proper, leak-free installation and stay protected on the job.
Roof safety guidelines
As with any plumbing installation, safety must be a top priority when installing or repairing roof flashing. Take the following precautions to reduce your risk of having an accident:
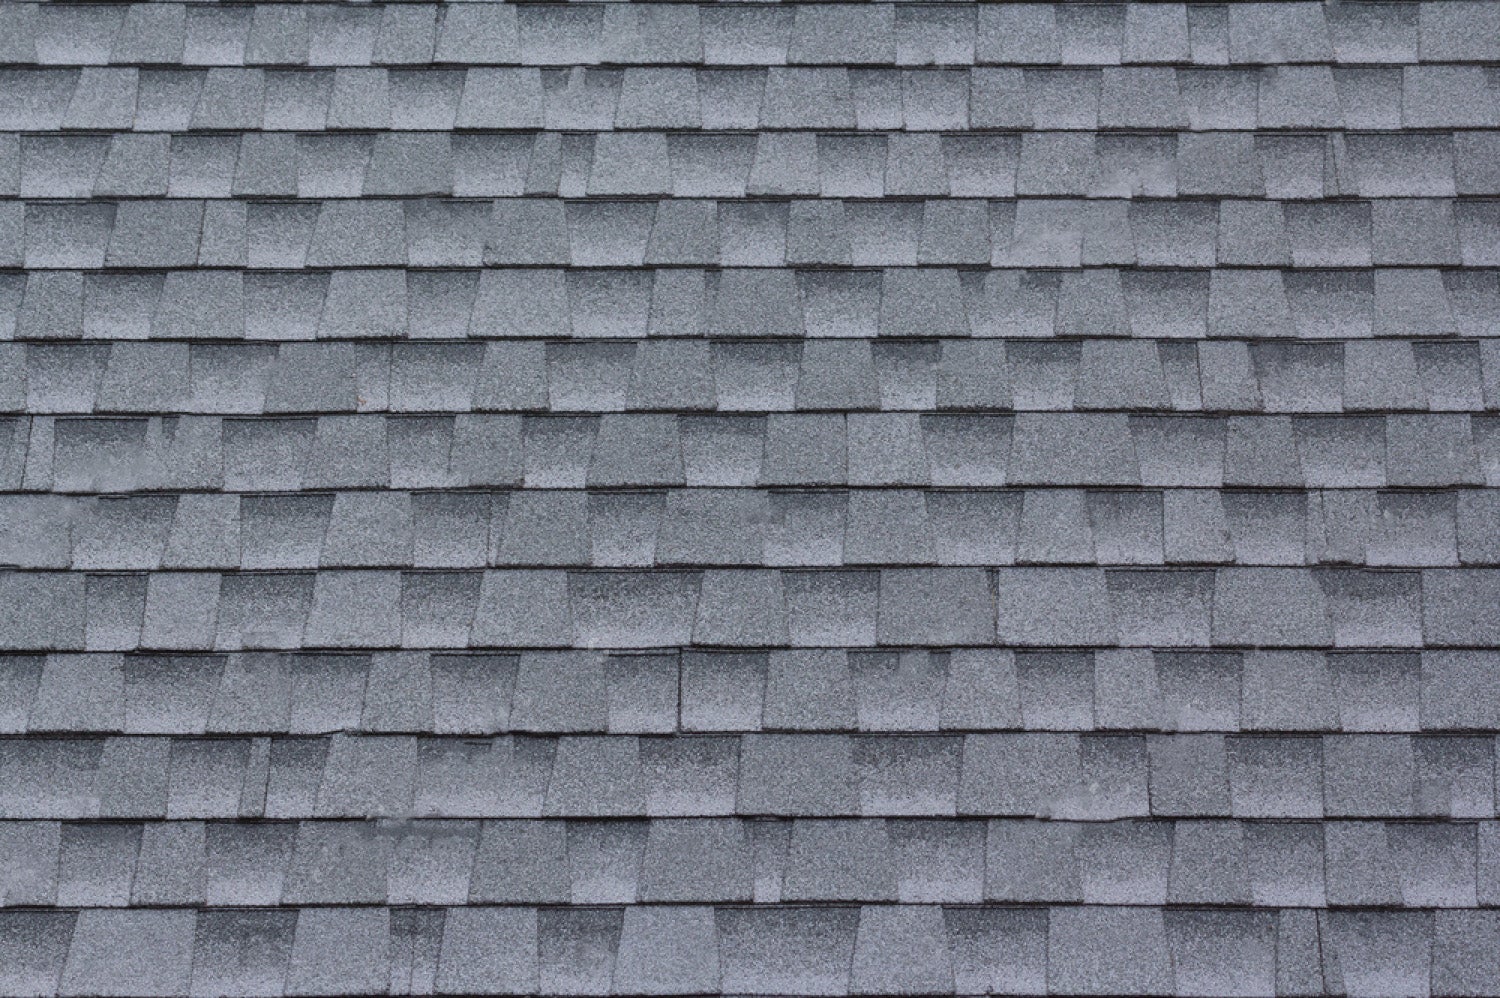
- Tread lightly. Roofs are not designed to handle regular foot traffic. Make sure you tread lightly across any roof you're working on, even for a short time period. And don't forget to check weather conditions ahead of time. Wind, rain, snow and ice can make it harder to maintain your footing.
- Identify hazards. Before work begins, clear the roof surface of any potential tripping or slipping hazards, such as fallen branches, leaves, tools or other materials. Flag any skylight locations. Depending on the home, you may also need to be aware of overhead power lines, exposed wires, conduit or solar panels.
- Stick to the essentials. When you're installing flashing, you only need a hammer, nails and the flashing. Keep all other tools or materials off the roof. If you are replacing an existing flashing, you will need a flat bar to assist in shingle removal.
- Practice ladder safety. The ladder you use to get on the roof should be tied off or secured to the building to prevent it from shifting. If that isn't possible, enlist a second person to remain on the ground and hold the ladder in place when you ascend and descend from the roof.
- Stay hydrated. Because a roof is designed to reflect heat, workers can easily become dehydrated on hot days. Drink plenty of water to avoid dizziness or lightheadedness that may lead to falls and other accidents.
Choosing the right roof flashing
Other factors you'll need to consider include:
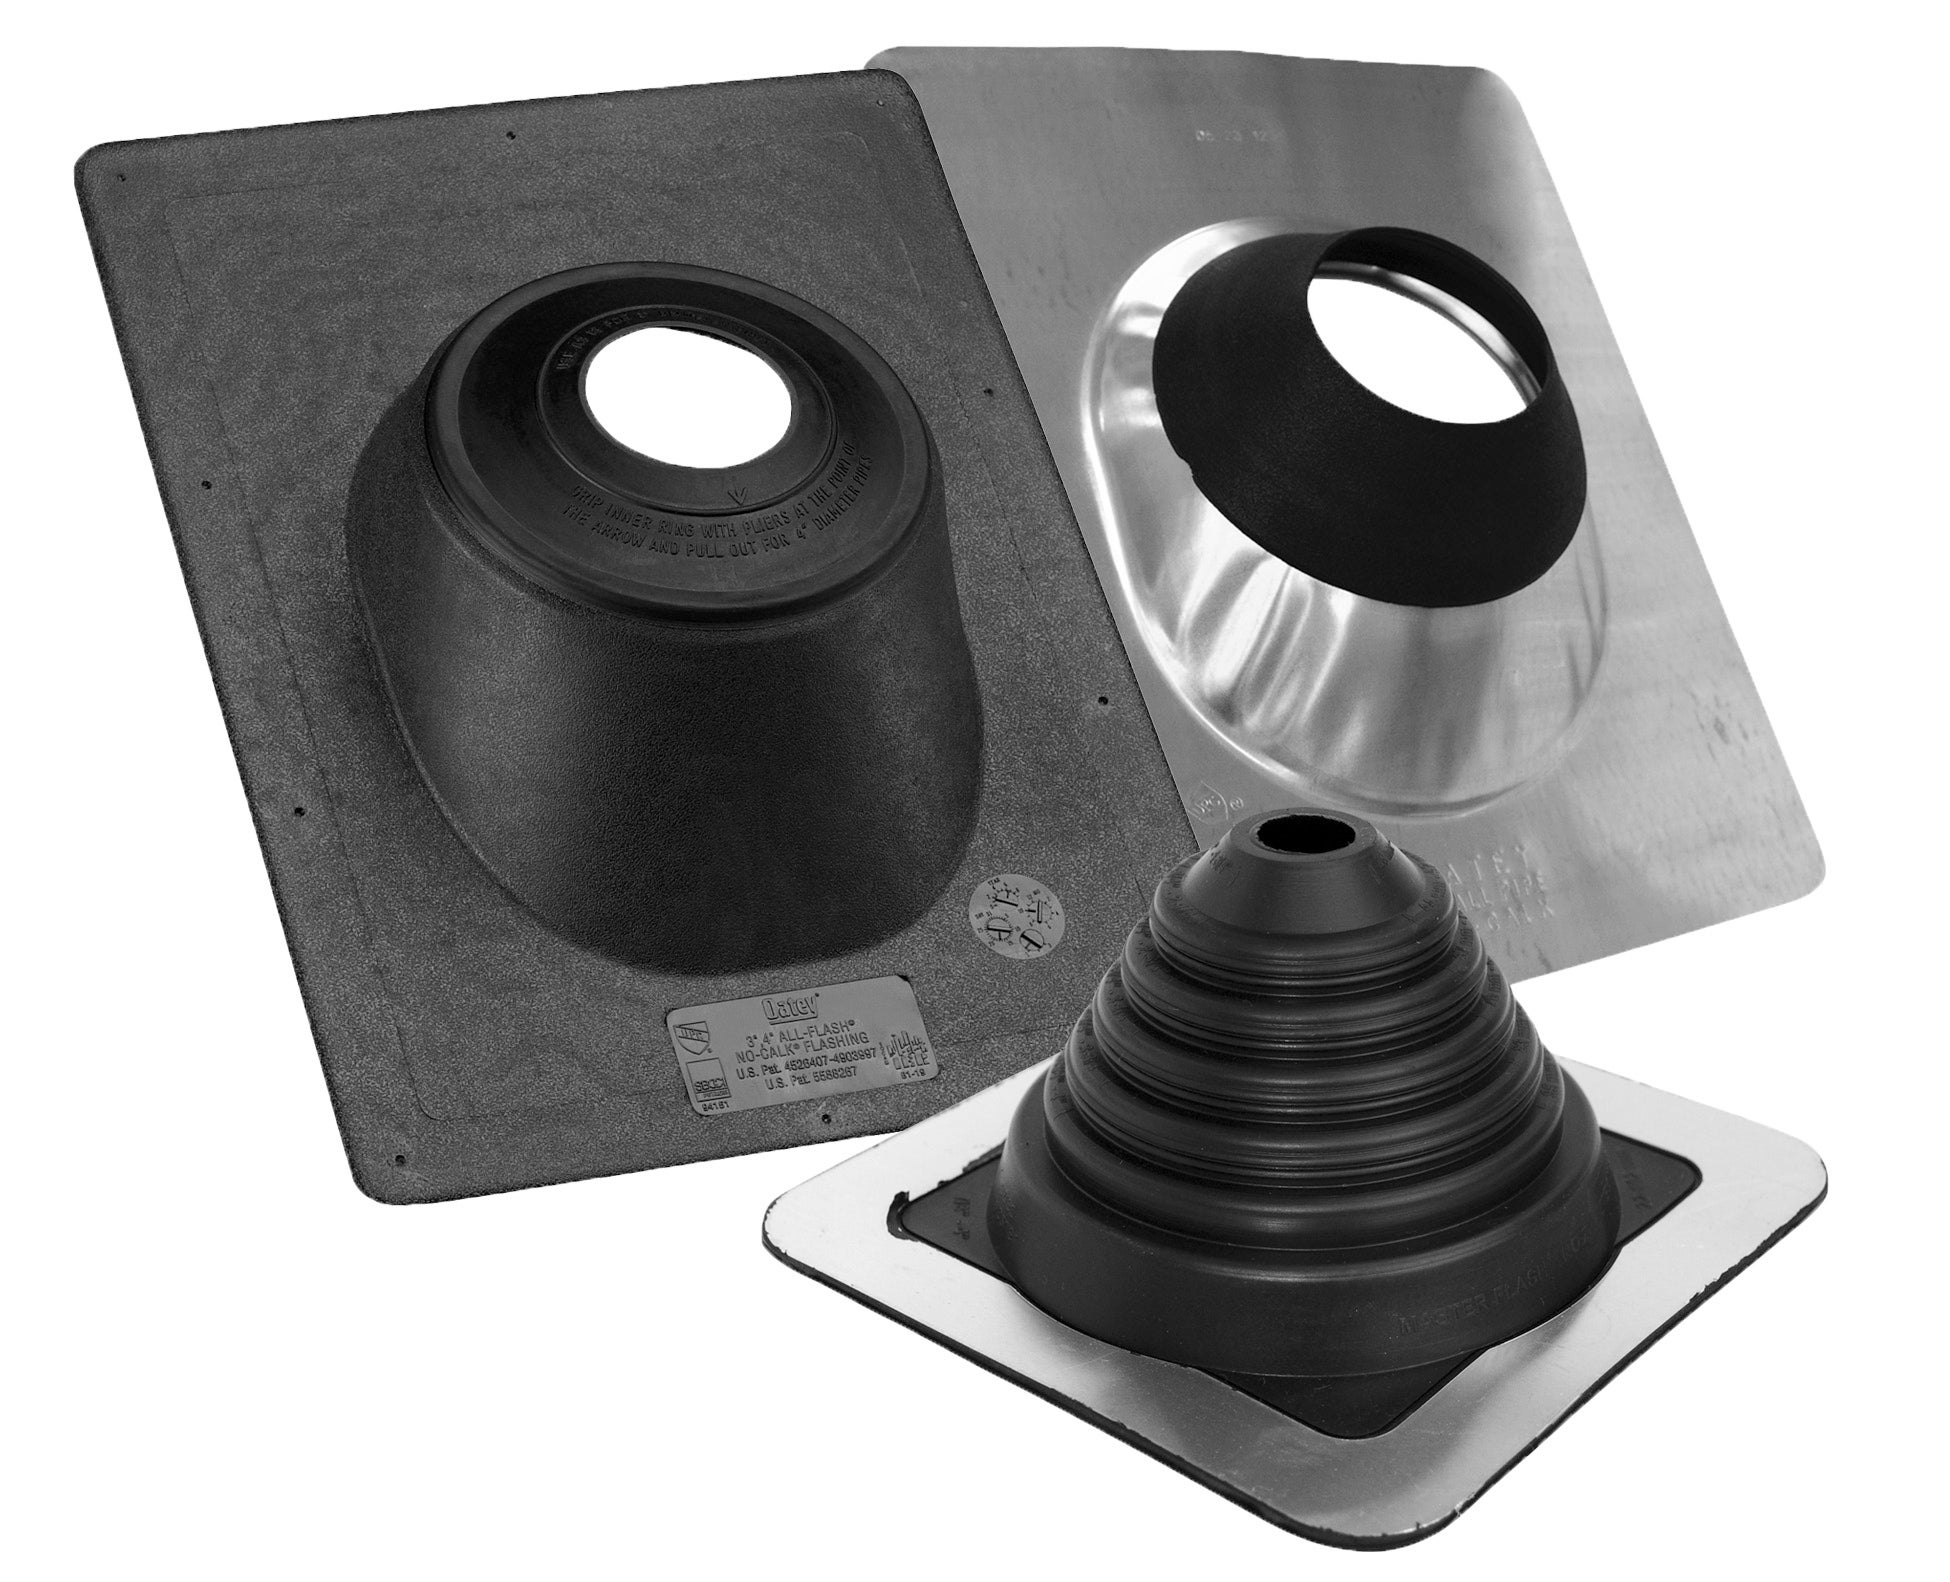
- Pitch (or angle) of the roof. If the home's roof is flat, then you will need to use flashing that accommodates a 90-degree pipe angle. However, a roof that is pitched requires flashing that is angled and designed to work with the amount of the roof pitch.
- Location and climate. To retain its water-tight seal, the flashing must be able to handle the expansion and contraction of the roof through a variety of temperatures. It must also withstand constant exposure to UV rays without becoming brittle. If the home is located near a source of salt water, then the flashing should feature a galvanized base or a coating to help prevent corrosion.
- Size of the vent pipe. To ensure a water tight seal, choose a flashing with an opening slightly smaller than the pipe size exiting the roof. Using a flashing with the same size opening as the pipe or larger will not create a water tight seal, allowing water to leak into the attic.
- Specialty applications. Some homes will require specialty flashings, such as side flashings. Side flashings can be used for plumbing, electrical and HVAC pipes that exit the side of the home – rather than through the roof – or over solar posts. In applications where the integrity of the flashing is in good shape but the rubber boot is not, Oatey's Rain Collar for No-Calk® Roof Flashings can easily be installed over the existing rain collar to restore its seal.
Steps for Installation
- Before installing flashing on an unfinished roof, clean the roof of all debris and apply a waterproof layer of felt or tar to the roof's underlayment (if one isn't already applied). On homes with completed roofs, you will need to pry up the roofing nails used to secure the old flashing, then carefully lift the shingles above the flashing so you can lift the flashing over the pipe.
- In a new roof installation, the shingles are installed starting at the bottom of the roof and moving upward to the peak, row by row. The next row of shingles should overlap the previous row, so water has no way to penetrate below or between the shingles.
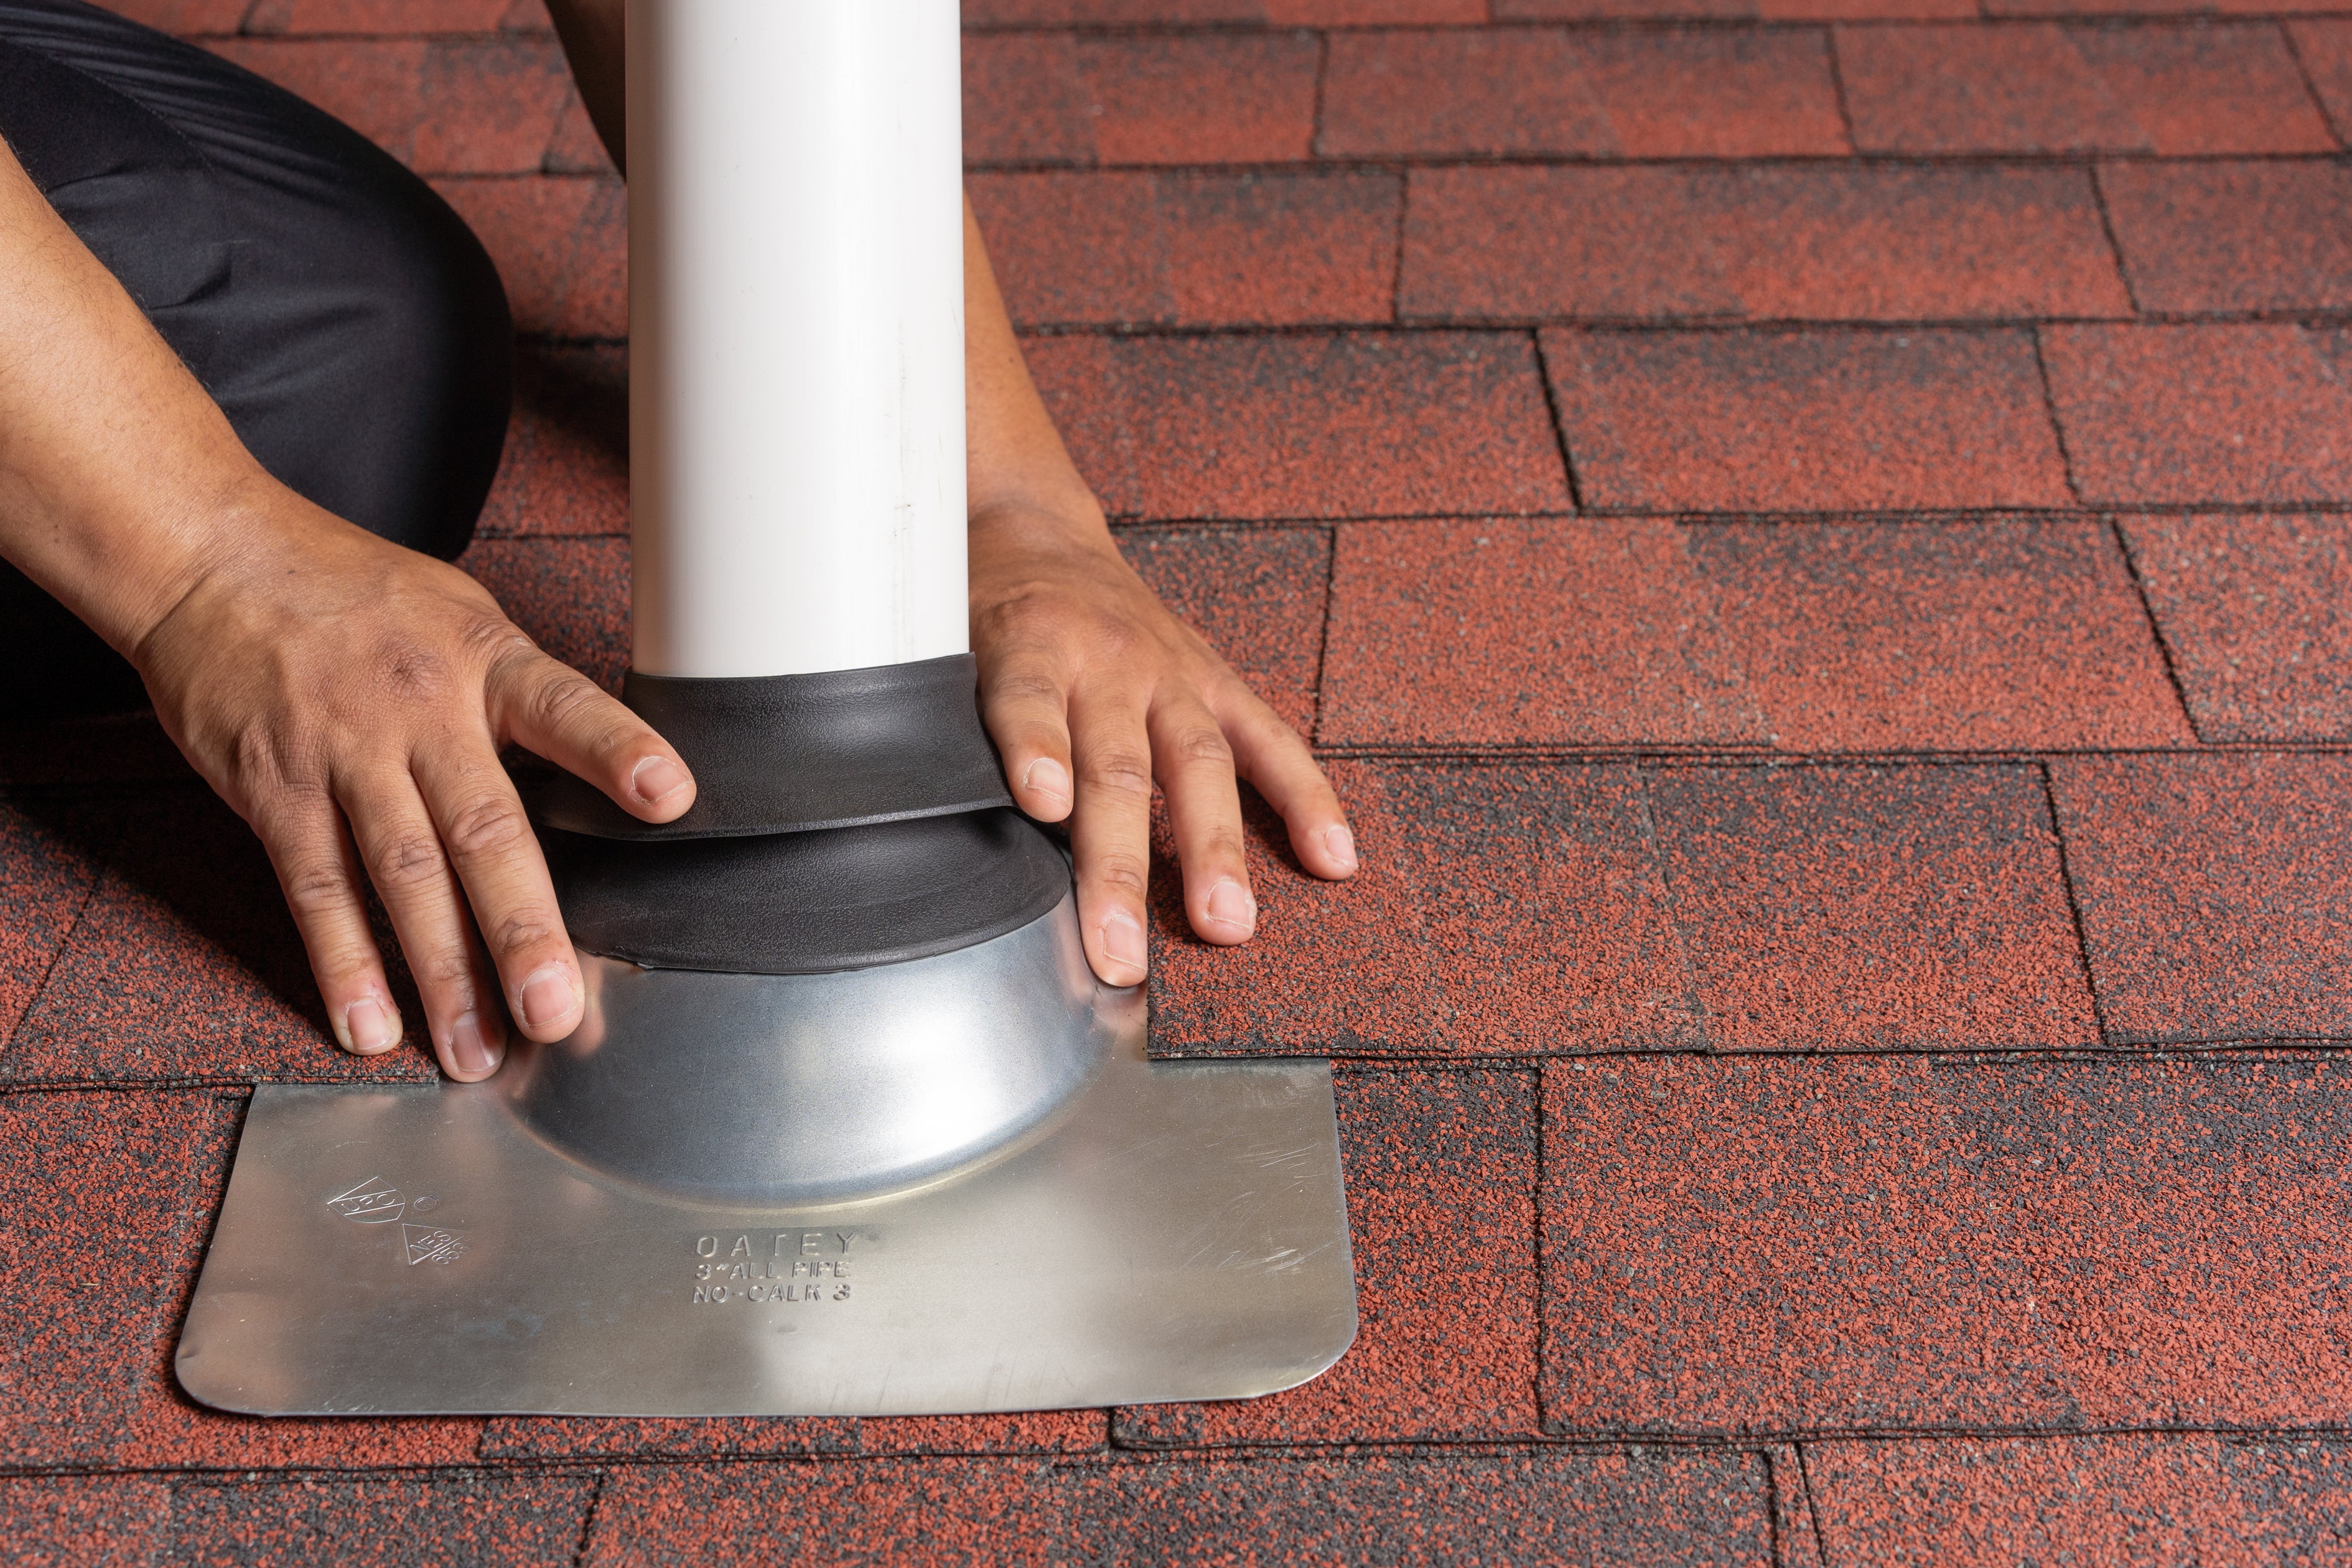
- As you near the pipe penetration, chamfer the open end of the pipe (give it a beveled edge). Clean the edge and the area around the pipe of debris, and slide the flashing over the chamfered end so it lays flush against the waterproof underlayment and shingles. Secure the flashing to the roof using roofing nails, making sure they are under the protection of the shingles to prevent leaks.
- Once the shingles are fully installed, you can perform a water test by spraying water from a hose onto the roof above the pipe vent. Douse the roof for 15 minutes. Then check the attic space where the pipe exits the home to see if any water is leaking through. If no leaks are visible, then the flashing is water-tight, and the job is complete.
how to install vent pipe flashing on existing roof
Source: https://www.oatey.com/faqs-blog-videos-case-studies/blog/how-properly-install-roof-flashings
Posted by: smithfescithavers.blogspot.com
0 Response to "how to install vent pipe flashing on existing roof"
Post a Comment