

how to install jupyter notebook
What is Jupyter Notebook?
This article will have a closer look at Install Jupyter Notebook but first, study the Jupyter Notebook. Project Jupyter is created to develop open-source software and provide interactive computing service across different types of programming languages. Jupyter mainly supports 3 core programming languages: Julia, Python, and R. Jupyter Notebook is a web-based interactive environment that provides computational power. It provides Jupyter Web Application, Jupyter Python Web Server and Jupyter document format. The whole Jupyter notebook is a JSON based document that contains input & output cells; these cells can contain code, text, mathematics functions, plots. Jupyter Notebook is saved as .ipynb extension format. Jupyter (.ipynb) also converts the document into standard formats like HTML, presentation slides, PDF, Markdown, Python. Jupyter notebook is widely used in the Data Science domain.
Installation of Jupyter Notebook
There are mainly two ways to Install Jupyter Notebook,
Following are the steps to Install:
- Directly using Python
- Using Anaconda
1. Directly Using Python
- Open the command prompt (cmd) and give the Administrator access to it.
- Then open the directory where your python is installed. If you have already added Python to your environment variable, then there is no need to look for the Python folder in the directory.

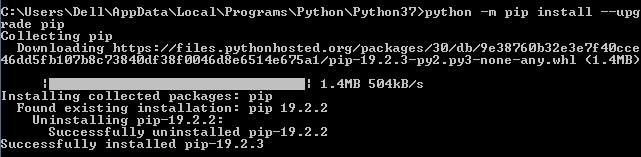
- For installing, we are going to use the pip command. And for installation pip should be upgraded. If you have the latest pip version, then directly move to the next step. Or use the below command to upgrade your pip.
python –m pip install –upgrade pip
- After going into the Scripts folder > run the below cmd command: 'pip install jupyter.'
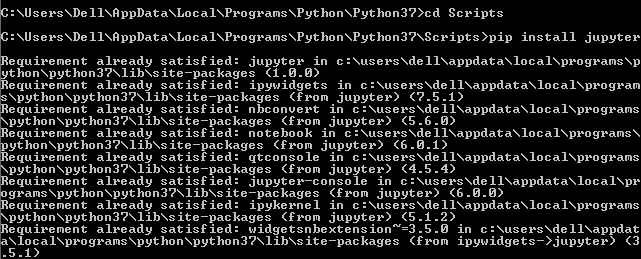
- Then it will start downloading the Jupyter, and it will install the Jupyter notebook.
- After completion, let's run the Jupyter notebook, using the following command: jupyter notebook.'
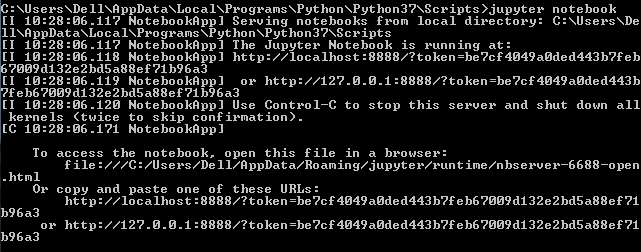
- After this, it will open the Jupyter notebook in your default browser.
- And you can also open the Jupyter notebook using the given below link: 'http://localhost:8888/tree.'
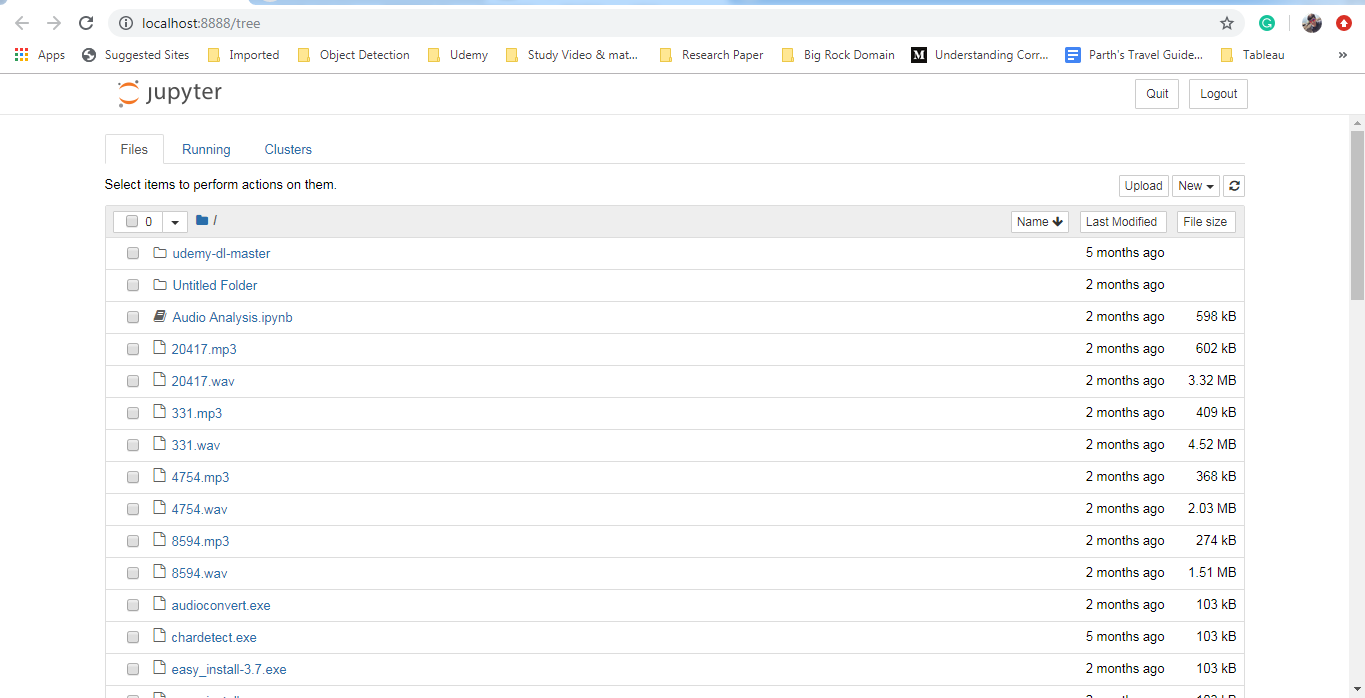
- It is mandatory to start the Jupyter in the command prompt then, and only then you will able to access it in your browser.
- This was the first way to use and Install a Jupyter notebook.
2. Install Jupyter notebook is using Anaconda
- The First step is to download Anaconda. Use the below link to download the software.
- Source Link: https://www.anaconda.com/products/individual
- Download the appropriate version and OS.
- Anaconda also provides an inbuilt python version. So also check the latest version of python.
- And start installing the software.
- After installation, you will see new software options, as shown below:

- Open the Anaconda Prompt terminal. It works the same as the cmd command prompt.
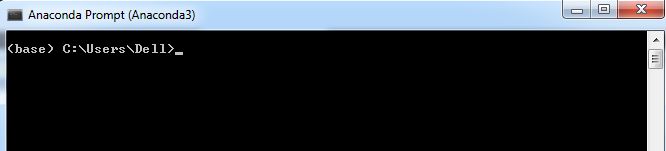
- But it works specifically for the installation of python and python dependent libraries.
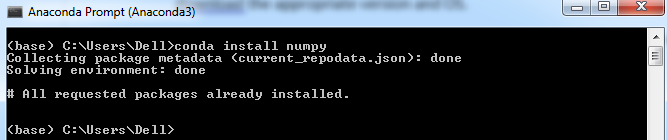
- To install anything in the anaconda, we are going to use the 'conda' keyword. As shown in the below image:
3. Now Install Jupyter Notebook
- For installation, we are going to use the following conda command: 'conda install Jupyter'

- It will start installing the Jupyter notebook, and if it already installed, then there is no need for installation.
4. Run the Jupyter notebook
- To run the notebook, use the following command in Anaconda prompt 'jupyter notebook.'

- This will open your Jupyter notebook in your default browser.
- You can also open the Jupyter notebook using the following link: 'http://localhost:8888/tree.'
- But it is mandatory to run the Jupyter notebook command in Anaconda prompt; without it, you will not be able to access the notebook. Once you run that command, you can access Jupyter notebook from anywhere using the above link.
- In the above link, we can see that the Jupyter notebook runs on the 8888 port number in your system.
Now we know that installation is done. Know the time to know how to stop Jupyter notebook.
5. Stop Jupyter Notebook
There are two ways to stop running the Jupyter notebook.
- Using command prompt/Anaconda prompt, use control + c-command for windows to stop the Jupyter server.
- Direct from the Jupyter notebook. Check the quit button on the top of the right-hand side. This will stop the Jupyter server.
Features of Jupyter Notebook
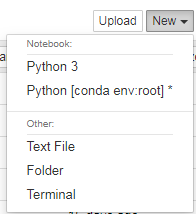
There is a 'New' option on the right side. It will give 4 option to create different types of files:
- Python 3
- Text File
- Folder
- Terminal
1. Python 3
File it will open a Notebook that contains:
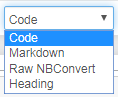
- Markdown: It is a cell that can be used to write simple text. Mainly developers are using this cell for comment purposes to explain the code.
- Code: Cell is a python cell where the whole python code is written, and we can run these cells as an individual cell. It is very much helpful for error debugging of code.
- Raw NBConvert: It is a command-line tool that is mainly used to convert your notebook to a different file format.
- Heading: It is used for giving heading to the different parts of the notebook. Use '#' to give the heading to the notebook. It is a simple text with large font size.
2. Text
The file will give a simple blank page for creating the text files.
3. Folder
Option to create a folder in the directory of the Jupyter Notebook. Rename and delete the folders on your requirements.
4. Terminal
Terminal exactly works as it works on your local machines like Mac, Linux or cmd in windows. It is not limited to python language, but we can also write R, Julia, and JavaScript programs. It provides a feature of an interactive dashboard in Jupyter notebook. It means it also provides an option to add widget functionality. If we have taken a text widget, then text can be stored or can be used in the next cell.
Conclusion
Jupyter notebook is a web application widely used by the developer community, which helps the developer write and share code documents. A Developer can easily access their code and data. Use it to run, look at the instant output of the code cell and visualize the data. Notebooks are a very flexible, interactive, useful, and powerful tool in the hands of data scientists.
Recommended Articles
This is a guide to the Install Jupyter Notebook. Here we discuss the basic concept of installing a jupyter notebook in two forms and its features, respectively. You can also go through our other related articles to learn more-
- Install Python on Windows
- Install UNIX
- Install Bugzilla
- Install Hadoop
how to install jupyter notebook
Source: https://www.educba.com/install-jupyter-notebook/
Posted by: smithfescithavers.blogspot.com
0 Response to "how to install jupyter notebook"
Post a Comment